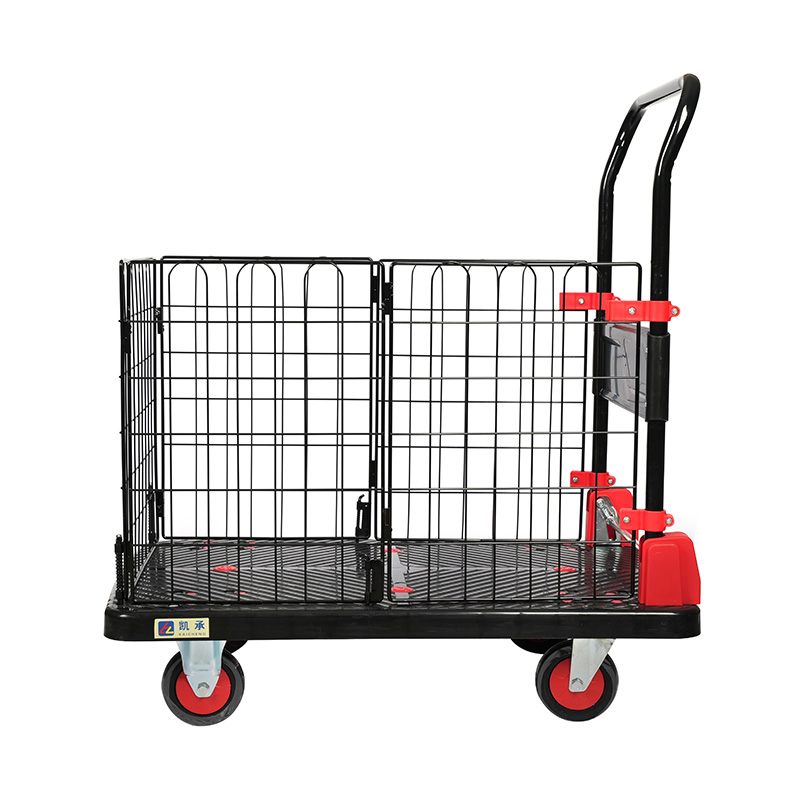
Metal trolleys are popular, versatile storage and transport solutions widely used in homes, offices, kitchens, warehouses, and shops. Whether you need an extra storage shelf, a mobile workstation, or a utility cart, metal trolleys offer sturdy support and easy mobility. If you’ve recently purchased a metal trolley or are considering buying one, you may wonder: How difficult is it to install? What does the installation process involve?
In this article, we’ll walk you through a typical metal trolley installation process and share tips to make it easy, even if you are not a DIY expert.
What Is a Metal Trolley?
Before diving into installation, let’s briefly clarify what a metal trolley is. It usually consists of several metal shelves or trays supported by vertical metal frames, with wheels (casters) attached at the bottom for mobility. Some trolleys come with additional features like handles, drawers, or adjustable shelves. Materials vary but generally include steel or aluminum, often coated with paint or powder to prevent rust.
Is Installing a Metal Trolley Difficult?
The short answer: Not really.
Most metal trolleys come with pre-drilled holes, numbered parts, and a straightforward assembly manual. The parts are designed to fit together easily using basic tools like a screwdriver or an Allen wrench, which often comes included. If you can handle simple furniture assembly (like putting together a small table or bookshelf), you can definitely install a metal trolley.
Of course, the difficulty depends on the complexity and size of the trolley. Small kitchen trolleys with two or three shelves are usually very simple to assemble. Larger, multi-tiered industrial trolleys may require more time and attention to detail but are still manageable with patience.
Tools and Materials Needed
Before starting, make sure you have:
-
The metal trolley kit with all parts and hardware (screws, nuts, washers, wheels, etc.)
-
Instruction manual or assembly guide
-
Screwdriver (usually Philips head)
-
Allen wrench or hex key (often included)
-
Optional: pliers or wrench for tightening bolts
-
A clean, spacious workspace to lay out the parts
Step-by-Step Guide to Installing a Metal Trolley
Step 1: Unpack and Organize Parts
Open the package and lay out all parts on the floor or a table. Check the parts list against the manual to ensure nothing is missing. Organizing parts by type and size makes assembly smoother.
Step 2: Assemble the Frame
Start by connecting the vertical metal frames or legs with horizontal bars or support beams. Usually, this involves inserting screws or bolts through pre-drilled holes and tightening them securely. It’s best to loosely fit all screws first to allow minor adjustments, then fully tighten once the structure is aligned.
Step 3: Attach Shelves
Once the frame is stable, attach the shelves. Depending on the model, shelves may either slide into grooves on the frame or be fixed using screws. Make sure each shelf is level and securely fastened to prevent wobbling.
Step 4: Fix the Wheels (Casters)
Turn the trolley frame upside down carefully, and attach the wheels to the designated spots on the bottom of each leg. Most wheels screw into place, or you may need to fix them with nuts and bolts. Tighten firmly to ensure safe movement.
Step 5: Add Handles or Additional Accessories
If your trolley includes a handle or other accessories like hooks or trays, install them according to the manual instructions.
Step 6: Final Check
Turn the trolley upright and check for stability. Push it gently to ensure the wheels roll smoothly and lock (if your wheels have locks). Make sure there are no loose screws or wobbly parts.
Tips to Make Installation Easier
-
Follow Instructions Carefully: Don’t skip steps or try to improvise unless you are experienced. The manual is designed to make assembly logical and efficient.
-
Work on a Flat Surface: Uneven floors or surfaces may cause alignment issues.
-
Get Help if Needed: Some trolleys, especially larger ones, may be easier to assemble with a second person.
-
Use Proper Tools: Using the correct screwdriver or wrench will prevent stripping screws and make tightening easier.
-
Don’t Over-Tighten Screws: Tighten screws until firm but avoid overtightening, which can damage threads or bend metal.
Common Challenges and How to Solve Them
Problem: Parts don’t fit perfectly
Sometimes parts may feel tight or misaligned. Loosening nearby screws and adjusting the position before tightening helps.
Problem: Wheels don’t roll smoothly
Check if debris or packaging material is stuck in the wheels. Also, verify if the wheels are installed in the correct orientation.
Problem: Instructions are unclear
If the manual is vague, look for online video tutorials by the manufacturer or general metal trolley assembly videos for guidance.
Installing a metal trolley is generally straightforward and suitable for most people with basic DIY skills. It does not require specialized tools or advanced knowledge. With organized parts, clear instructions, and a bit of patience, you can have your metal trolley assembled and ready for use in under an hour.
Whether you need it for organizing your kitchen, transporting goods at work, or simply as a mobile storage solution, a well-installed metal trolley will serve you efficiently for years. If you ever feel stuck during installation, don’t hesitate to seek help or consult additional resources online.


 English
 Español


